.jpg) |
| Heel Cutting |
In another life, I worked in plant
nurseries and spent many hours with my colleagues propagating plants. We raised
many thousands of plants by seed (which is another story). Today’s story is how
to take a successful cutting.
In this instance I am taking rosemary
cuttings, rosemary is fairly easy to grow from a cutting and a number of
methods can be used.
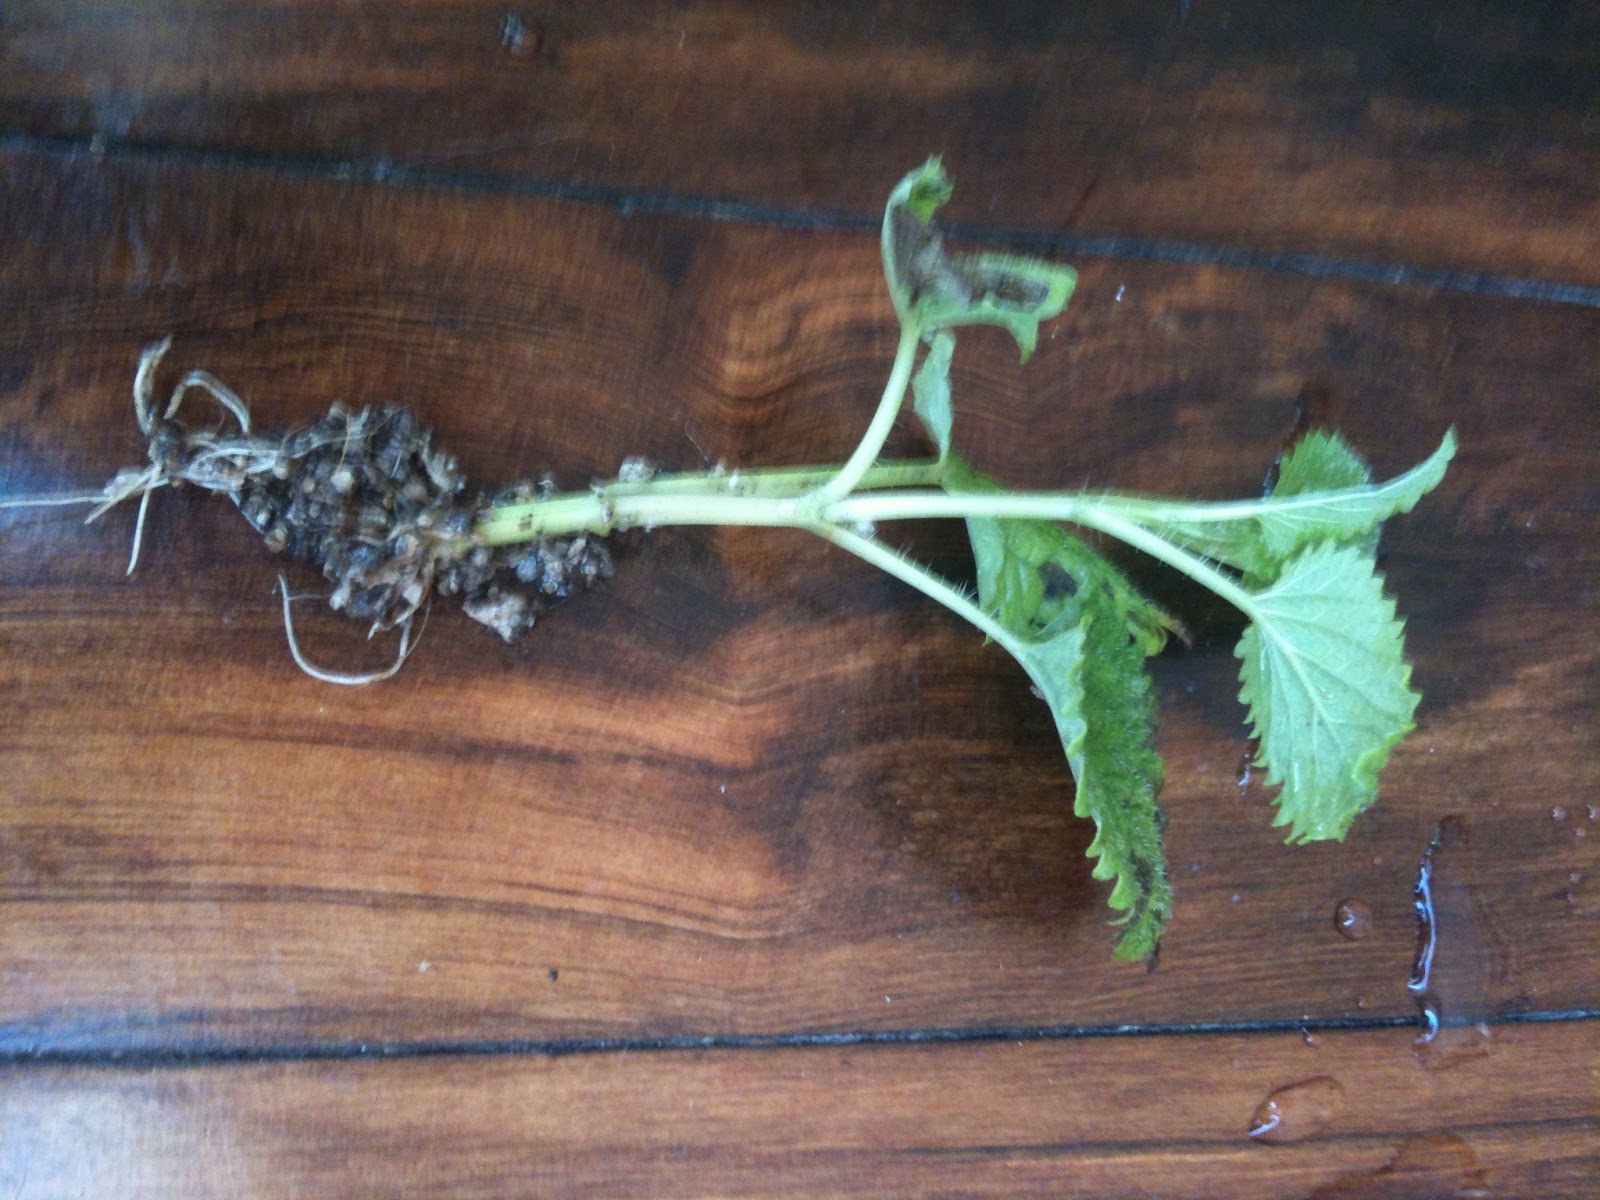
This
method of taking cuttings is called ‘heel cuttings’ you literally pull the side
shoot off the main branch and leave a ‘heel’ on bottom of your cutting.
.jpg) |
| Fresh Rosemary |
To get started, harvest your rosemary plant
material in the morning if possible, and take semi-hard wood cuttings, think of
it just like pruning the tops of your rosemary plant, you want branches about
the thickness of a pencil with side shoots.
Once you have gathered your rosemary you
can start stripping off side shoots, these will become your cuttings. A good
length for your cutting is roughly the same size as your index finger (2inches)
.jpg) |
| Trimmed Rosemary Cuttings |
You want to prune any flowers or excessive
foliage to reduce water evaporation and stress on the cutting.
Once you have finished talking your
cuttings you are now ready to place them in your cutting mix. Make a hole with
a dibber stick, or a pencil, and then place your single cutting in the hole and
firm the cutting mix around the cutting. It is important not to just push the
cutting into the pot as this will damage the heel and retard the growth of new
roots.
You
can place the cuttings quite close together as this helps reduce water
evaporation from the cuttings and they like each other.
.jpg) |
| Lemonbalm snug in their pot |
Sprinkle with water as needed, at least
once a day to ensure that the cuttings don’t dry out. Place the whole container
somewhere warm and sheltered away from direct sun.
The cuttings will develop roots faster in
spring/ summer and they could be ready for potting on within 6 to 8 weeks. You
will know when they are ready by giving them a gentle pull and seeing if they
are resistant, and by the development of new top growth.
 |
| Lemonbalm ready for potting on |
Gently remove the cuttings by inserting a
small trowel or knife under the root structure and pot on into good quality
potting mix and water.
No comments:
Post a Comment